


A hot oil treatment is warmed plant-based oil massaged into your scalp and strands to seal the hair cuticle, add moisture, and reduce breakage. If your hair is dry, damaged, color-treated, or naturally curly or coily, this treatment is one of the most practical things you can add to your routine. If your scalp is persistently oily, inflamed, or you have a condition like seborrheic dermatitis or psoriasis, check with a dermatologist before starting.
Three things you can do right now:
- Pick your oil: coconut for deep penetration, jojoba for lighter moisture, castor for thicker ends
- Test your temperature: dab warmed oil on your inner wrist before applying to your scalp
- Schedule 30 minutes this week for your first treatment
Pro Tip: Start with a single oil before blending. It makes it easier to know what’s working for your hair.
Key Takeaways
A hot oil treatment is one of the most effective at-home conditioning methods for dry, damaged, or textured hair when you use the right oil, heat it safely, and repeat consistently.
| Point | Details |
|---|---|
| Best candidates | Dry, damaged, curly, coily, or color-treated hair benefits most from regular hot oil treatments. |
| Safe heating method | Use a water bath, never a microwave; test oil on your wrist before applying to your scalp. |
| Leave-in timing | 15–30 minutes is the effective window; overnight is fine for ends only, not the scalp. |
| Recommended frequency | Once weekly for very dry or damaged hair; every 2–4 weeks for maintenance. |
| Crisanbeauty option | CRISAN Ayurvedic Hair Growth Oil is a USA-made, plant-based ready-to-use treatment for dry, thinning, or damaged hair. |
Table of Contents
- How a hot oil treatment works on your hair
- Benefits you can realistically expect
- Is a hot oil treatment safe? What to watch for
- Which hair types benefit most — and who should be cautious
- Step-by-step DIY hot oil treatment at home
- Best oils and blends by hair type and goal
- How to choose a ready-made hot oil product
- How often to treat, how long results last, and what it costs
- What we believe about hair care at CRISAN
- CRISAN Ayurvedic Hair Growth Oil: a plant-based option worth trying
- Sources
How a hot oil treatment works on your hair
A hot oil treatment is a deep-conditioning method that uses warmed plant-based oils to seal the cuticle, strengthen the hair shaft, reduce frizz, and deliver moisture. The warmth helps the cuticle layer open slightly, which allows certain oils to move closer to the cortex and reduce water absorption and swelling. Less swelling means less mechanical stress on the fiber, which translates to less breakage over time.
The key mechanism is physical, not chemical. Oil does not rebuild broken bonds the way a protein treatment does. What it does is coat and partially penetrate the shaft, reducing the friction and hygral fatigue that cause dry hair to snap.
One important limit: hot oil treatments are not a proven cure for genetic hair loss or thinning caused by hormonal or medical conditions. They may support scalp circulation and a healthier follicular environment, but the evidence for direct hair regrowth is indirect at best. Treat this as a conditioning and maintenance tool, not a medical intervention.
Benefits you can realistically expect
Regular hot oil treatments deliver several benefits, and most of them are noticeable within the first few sessions for dry or textured hair.
- Increased shine: Sealed cuticles reflect light more evenly. You’ll likely notice this after the first rinse.
- Reduced frizz: When the cuticle lies flat and moisture is locked in, humidity has less to work with.
- Improved manageability: Detangling becomes easier, especially for curly and coily hair types, because the strands are more pliable and lubricated.
- Reduced breakage: Over several weeks of consistent use, the reduction in hygral fatigue adds up. This is a gradual benefit, not an overnight result.
- Scalp relief: Oil can ease dry scalp discomfort and help dislodge flaky buildup. That said, if your flakes are caused by a fungal condition, oil alone won’t resolve it and may make it worse. See a clinician for persistent or inflamed scalp issues.
High-porosity and textured hair types tend to show the most dramatic improvements in manageability and shine because their structure absorbs oils more readily than low-porosity hair. Shine and frizz reduction are immediate. Reduced breakage builds over weeks of consistent treatment.
Is a hot oil treatment safe? What to watch for
Hot oil treatments are safe for most people when done correctly. The risks are real but avoidable.
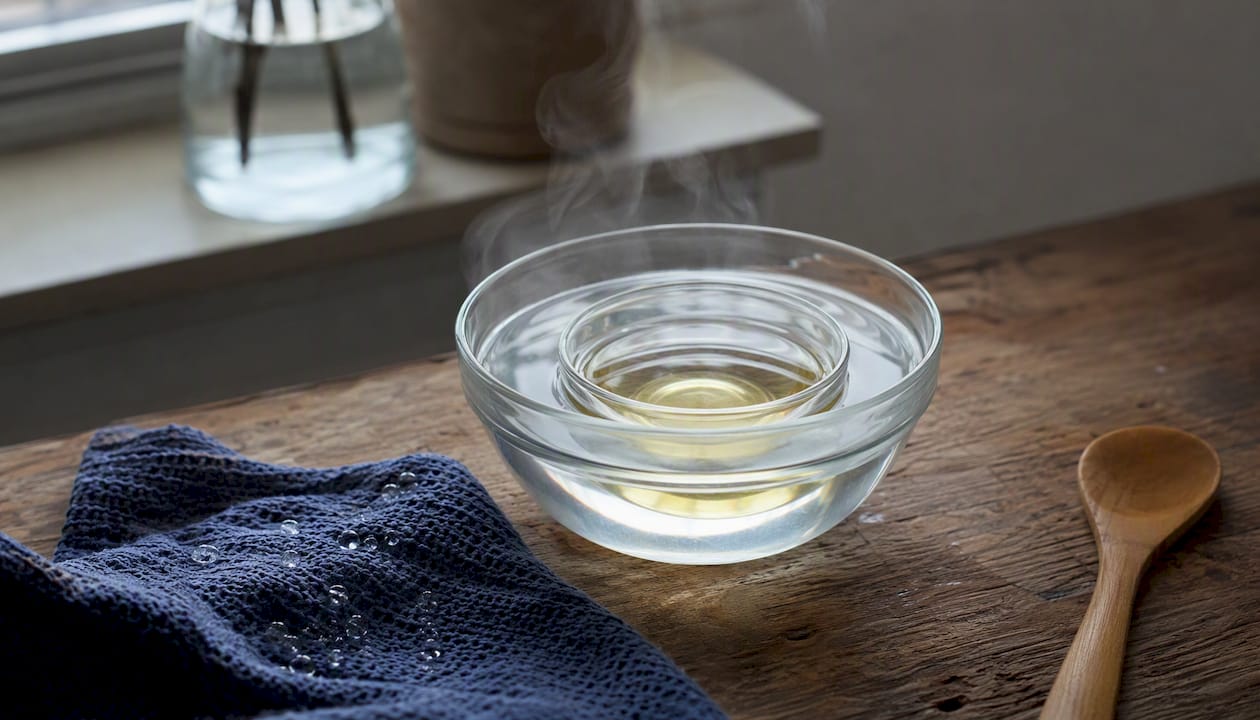
Temperature is the primary risk. Oil retains heat longer than water and can cause burns if applied too hot. Always test a drop on your inner wrist before touching your scalp. According to Prevention, the safest heating method is a water bath: place your oil in a small glass bowl or bottle set in a larger bowl of hot water for 2–3 minutes. Never microwave oil. Microwaves create uneven hot spots and can degrade the beneficial compounds in plant-based oils.
Patch test before your first use. Apply a small amount of your chosen oil to the inside of your elbow and wait 24 hours. Nut-derived oils like almond carry allergy risk for some people.
Red flags that mean you should see a professional:
- Active scalp sores, open wounds, or significant inflammation
- Diagnosed seborrheic dermatitis or scalp psoriasis (oil can trap fungal or bacterial growth)
- Sudden, significant hair shedding that started recently
Common mistakes to avoid:
- Microwaving oil (uneven heat, degraded quality)
- Leaving oil on for hours when your scalp is already prone to buildup
- Skipping shampoo after treatment and wondering why your hair feels greasy
- Using too much oil on fine hair, which weighs it down and clogs follicles
If you have a dry scalp condition that isn’t fungal, natural scalp treatments using plant-based oils can be a helpful part of your routine.
Pro Tip: If oil residue remains after shampooing, apply conditioner to dry hair before wetting it, wait two minutes, then rinse and shampoo again. This emulsifies the oil more effectively than shampoo on wet hair alone.
Which hair types benefit most — and who should be cautious
Hot oil treatments are not one-size-fits-all. Matching the treatment to your hair type makes a real difference in results.
Best fit:
- Curly and coily hair (Type 3–4): The spiral-shaped shaft makes it harder for natural scalp sebum to travel down the strand, so textured hair benefits most from supplemental oiling. Heat helps the oil reach lengths that sebum never does.
- High-porosity hair: Chemically processed, bleached, or heat-damaged hair has a raised, uneven cuticle that loses moisture quickly. Oil seals those gaps.
- Very dry or brittle hair: Any hair that snaps during detangling is a candidate.
- Color-treated hair: Coloring lifts the cuticle and strips natural lipids. Regular oiling helps restore some of that surface protection.
Use with caution or modify:
- Fine or low-porosity hair: Oil sits on the surface rather than penetrating, which can leave hair limp and greasy. Use lighter oils (jojoba, almond), apply only to mid-lengths and ends, and use less than you think you need.
- Oily scalp: Skip the scalp entirely and treat only from the ears down.
- Thinning hair: Avoid heavy oils directly on the scalp, which can clog follicles. Lighter, non-comedogenic options like jojoba are safer.
Pro Tip: For fine hair, use no more than a teaspoon of a lightweight oil like jojoba or almond, applied only from mid-shaft to ends. Avoid the roots entirely.
Step-by-step DIY hot oil treatment at home
This method works for most hair types. Adjust timing and oil quantity based on your hair’s thickness and porosity.
What you need: your chosen oil, a small glass bowl, a larger bowl of hot water, a wide-tooth comb, a shower cap or plastic wrap, and a towel.
Preparation
- Decide whether to start with clean or unwashed hair. For conditioning and frizz reduction, apply to clean, damp hair for best penetration. If your goal is to loosen scalp buildup, apply to dry, unwashed hair and plan for a double-cleanse afterward.
- Section your hair into four quadrants using clips. This makes even distribution much easier.
- Measure your oil. Fine hair: 1–2 teaspoons. Medium hair: 1–2 tablespoons. Thick or long hair: 2–3 tablespoons.
Heating
- Use a water bath. Place your oil in a small glass bowl or bottle. Set it in a larger bowl filled with hot (not boiling) water. Let it sit for 2–3 minutes. Stir or swirl.
- Test on your wrist. The oil should feel warm, not hot. If it stings, wait another minute and test again.
Application
- Start at the scalp (unless you have an oily scalp, in which case start at mid-lengths). Use your fingertips to massage oil into the scalp in small circular motions for 3–5 minutes. This supports circulation and distributes the oil evenly.
- Work through the lengths and ends. Use your fingers or a wide-tooth comb to coat each section from root to tip.
Leave-in time
- Cover with a shower cap and wrap a warm towel around your head, or use a heat cap. The gentle heat keeps the cuticle slightly open for better absorption.
- Leave on for 15–30 minutes. For very dry or damaged hair, 30 minutes is the sweet spot. Overnight treatments are fine for ends only, but leaving oil on the scalp overnight can contribute to buildup for some people.
Rinse and removal
- Rinse with warm water first, then shampoo twice. The first shampoo breaks down the oil; the second cleans the scalp. Follow with conditioner if your hair needs it.
Alternative low-heat method: Apply room-temperature oil to damp hair, then use a blow-dryer on low heat held 6 inches away for 2–3 minutes. This is a good option if you want to avoid the water-bath step. Some dermatologists note that room-temperature oil still provides measurable benefits while avoiding heating risks entirely.
Pro Tip: For a steam boost, do your hot oil treatment right after a shower while your bathroom is still steamy. The ambient humidity helps the cuticle stay open longer without any extra tools.

For a full hair oiling routine that incorporates these steps into a weekly schedule, Crisanbeauty’s guide covers frequency and sequencing in detail.
Best oils and blends by hair type and goal
Different oils do different jobs. The distinction between penetrating oils and sealant oils matters when you’re choosing what to use.
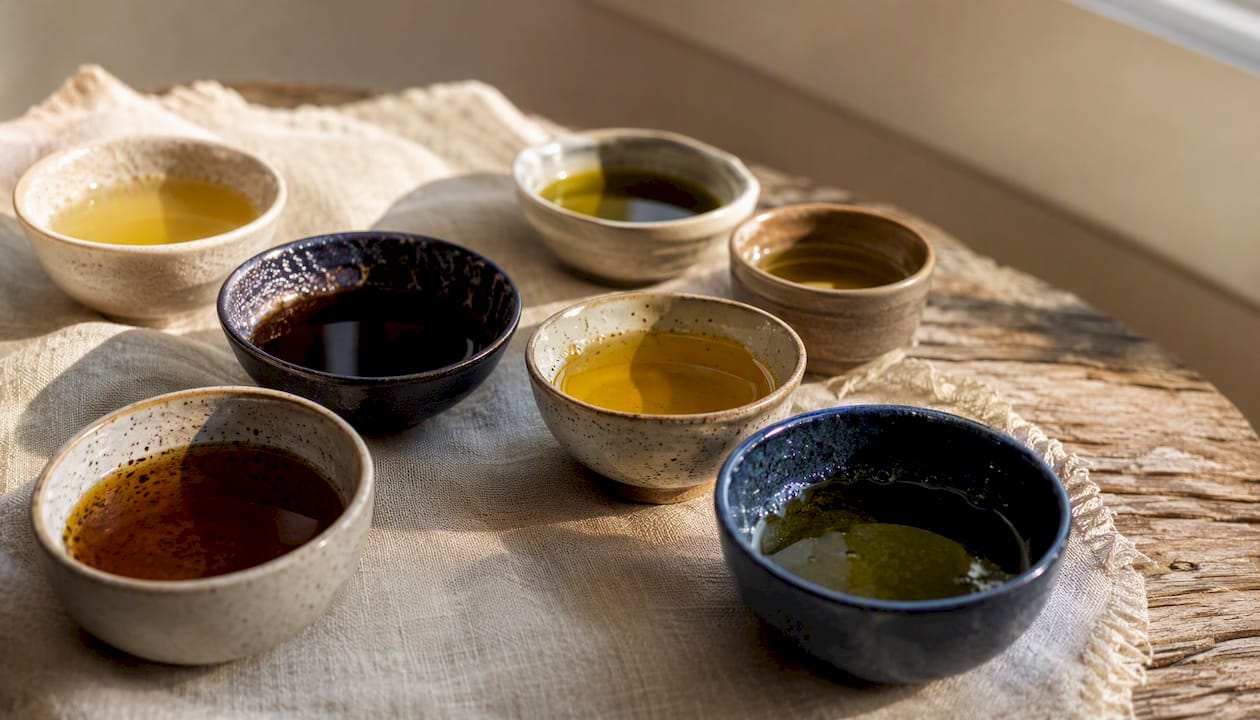
Penetrating oils (smaller molecular structure, enter the shaft): coconut, avocado, olive Sealant oils (coat the surface, lock in moisture): argan, jojoba, castor, almond
| Oil | Best For | Key Benefit |
|---|---|---|
| Coconut | All types, especially coily | Penetrates shaft, reduces protein loss |
| Jojoba | Fine, oily scalp, low-porosity | Lightweight, mimics sebum, non-greasy |
| Argan | Color-treated, frizzy | Surface shine, heat protection |
| Sweet almond | Fine to medium, sensitive scalp | Light, fast-absorbing, rich in oleic acid |
| Castor | Thick, coily, dry ends | Heavy sealant, excellent for ends |
| Olive | Dry, coarse, high-porosity | Rich emollient, good for overnight end treatments |
| Avocado | Damaged, brittle | Penetrates shaft, high in vitamins A, D, E |
| Neem | Dry scalp, flaking | Anti-inflammatory scalp support |
Dermatologists and hair professionals commonly recommend coconut oil for its ability to penetrate the shaft and reduce protein loss, with jojoba and almond as lighter alternatives for finer hair.
Sample blends you can mix at home:
- Fine hair blend: 1 tablespoon jojoba + 1 teaspoon sweet almond. Apply to mid-lengths and ends only.
- Thick or coily repair blend: 1 tablespoon coconut + 1 tablespoon castor + 1 teaspoon argan. Warm and apply root to tip.
- Scalp-soothing blend: 2 tablespoons jojoba + 1 teaspoon neem. Massage into scalp, leave 20 minutes, double-cleanse.
- Strength and shine blend: 1 tablespoon avocado + 1 tablespoon argan + 1 teaspoon coconut. Good for color-treated or bleached hair.
These blend ratios come from formulation guidance that recommends lighter carriers for scalp-focused treatments and heavier carriers for end repair.
Essential oil safety note: If you want to add an essential oil (lavender, peppermint, rosemary), limit it to 1–2 drops per tablespoon of carrier oil. Never apply undiluted essential oil directly to the scalp. Some essential oils are photosensitizing or irritating at higher concentrations. For a vetted list of scalp-safe botanicals, Crisanbeauty’s herb guide covers dilution and compatibility.
How to choose a ready-made hot oil product
Pre-blended products save time and take the guesswork out of formulation. Knowing what to look for on a label keeps you from wasting money on products that won’t deliver.
Label checklist:
- Named botanical oils in the top half of the ingredient list (coconut, jojoba, argan, avocado, almond)
- No mineral oil or petrolatum as a primary ingredient. These are heavy occlusives that sit on the surface without penetrating and can cause buildup.
- Fragrance listed low on the ingredient list or absent. High fragrance concentration increases irritation risk, especially on a sensitive scalp.
- Transparent sourcing or manufacturing information
Format considerations: Single-use applicators are convenient for travel but often more expensive per use. Pump bottles work well for medium-length hair. Pre-blended oils in amber glass bottles tend to preserve quality better than clear plastic.
CRISAN Ayurvedic Hair Growth Oil is a recommended option for anyone looking for a ready-made treatment built on Ayurvedic botanical principles. It’s formulated with named plant-based ingredients, manufactured in the USA, and designed for people dealing with thinning, dry, or damaged hair. Apply a small amount to damp, sectioned hair, massage into the scalp, cover for 20–30 minutes, and rinse with a gentle shampoo. For the full ingredient breakdown and usage instructions, visit the CRISAN Ayurvedic Hair Growth Oil product page.
For a broader look at how botanical oils support hair health, Crisanbeauty’s evidence-focused article covers particular ingredients and their documented effects.
How often to treat, how long results last, and what it costs
Recommended frequency:
- Very dry, damaged, or high-porosity hair: Once per week
- Normal to slightly dry hair: Every 2–4 weeks
- Fine or low-porosity hair: Once per month, or as needed
Hairstylists often frame hot oil treatments as a long-term wellness investment rather than a rapid fix. Immediate results (shine, softness, easier detangling) show up after the first session. Cumulative benefits like reduced breakage and improved elasticity build over 4–8 weeks of consistent use.
Signs you’re overdoing it:
- Hair feels heavy or greasy even after shampooing
- Scalp feels congested or itchy
- Buildup on the scalp that doesn’t clear with regular shampoo
If any of these appear, reduce frequency and switch to a clarifying shampoo for one or two washes.
Time per session: 30–45 minutes total, including heating, application, leave-in time, and rinse.
Cost: A DIY treatment using a single carrier oil costs roughly $0.50–$2.00 per session depending on the oil. A pre-blended product costs more per use but saves formulation time. A salon hot oil treatment typically costs a moderate amount depending on location and hair length.
What we believe about hair care at CRISAN
At Crisanbeauty, we built this brand because we needed it ourselves. The CRISAN line grew out of a real experience with postpartum hair loss and a search for plant-based solutions that were honest about what they could and couldn’t do. Every product we make is manufactured in the USA using botanical ingredients chosen for their documented properties, not just their marketing appeal.
Our approach to hot oil treatments reflects that same philosophy: use the right oil for your hair type, apply it safely, be consistent, and set realistic expectations. A hot oil treatment won’t reverse genetic hair loss. But for dry, damaged, or textured hair, it’s one of the most practical and accessible tools available. We’re proud to offer a product that fits that standard.
CRISAN Ayurvedic Hair Growth Oil: a plant-based option worth trying
Dry, damaged, or thinning hair needs consistent care, and the right oil makes that routine easier to stick with. CRISAN Ayurvedic Hair Growth Oil is formulated with plant-based, Ayurvedic-inspired ingredients, made in the USA, and designed specifically for people dealing with the kind of hair concerns this guide covers: dryness, breakage, and thinning.
Unlike generic carrier oils, it’s a ready-to-use blend that removes the guesswork from formulation. Apply it warm to damp, sectioned hair, massage into the scalp for 3–5 minutes, cover for 20–30 minutes, and rinse clean. The ingredient list is transparent, the sourcing is domestic, and the formulation is built around long-term scalp and strand health, not a quick cosmetic fix.
Visit the CRISAN Ayurvedic Hair Growth Oil page to see the full ingredient list and order yours today.
Sources
- Hot Oil Treatment for Hair: Benefits and How to Do It Yourself
- How to Do a Hot Oil Treatment for Hair at Home
- Hot Oil Treatment for Hair: Benefits, Risks, and How to DIY
- How To DIY a Hot Oil Treatment for Hair, According to Pros
- How To Do a Hot Oil Treatment on Natural or Transitioning Hair -
- Hot Oil Treatment for Hair


